Medial Ankle Ultrasound: Finding the Tibial Nerve Behind the Medial Malleolus
When you’re scanning the medial ankle for tibial nerve pathology—or planning a guided injection—small imaging tweaks make all the difference. Here’s a fast, practical roadmap to optimize contact, identify vessels, and reliably bring the tibial nerve into view between the medial malleolus and Achilles tendon.
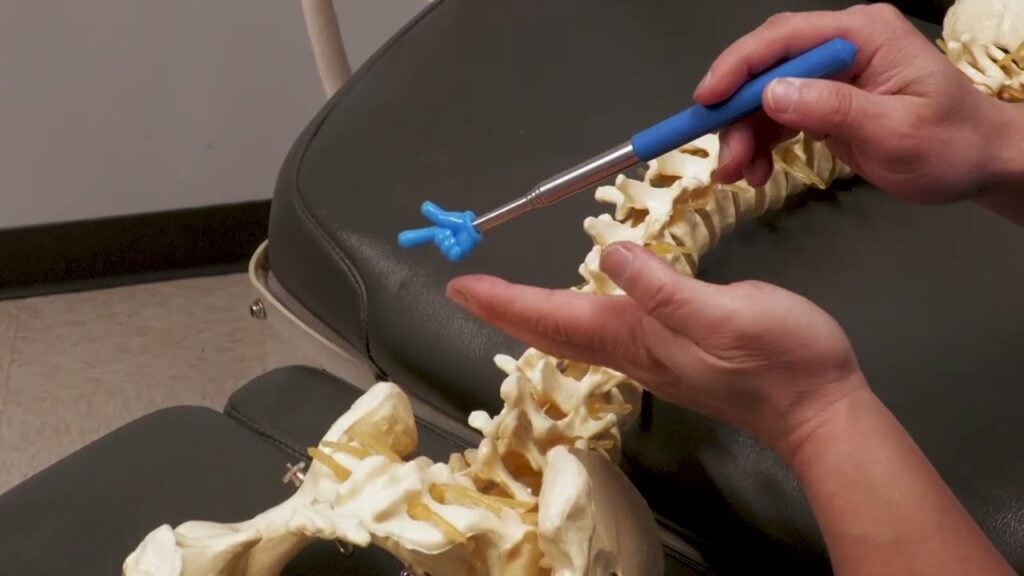
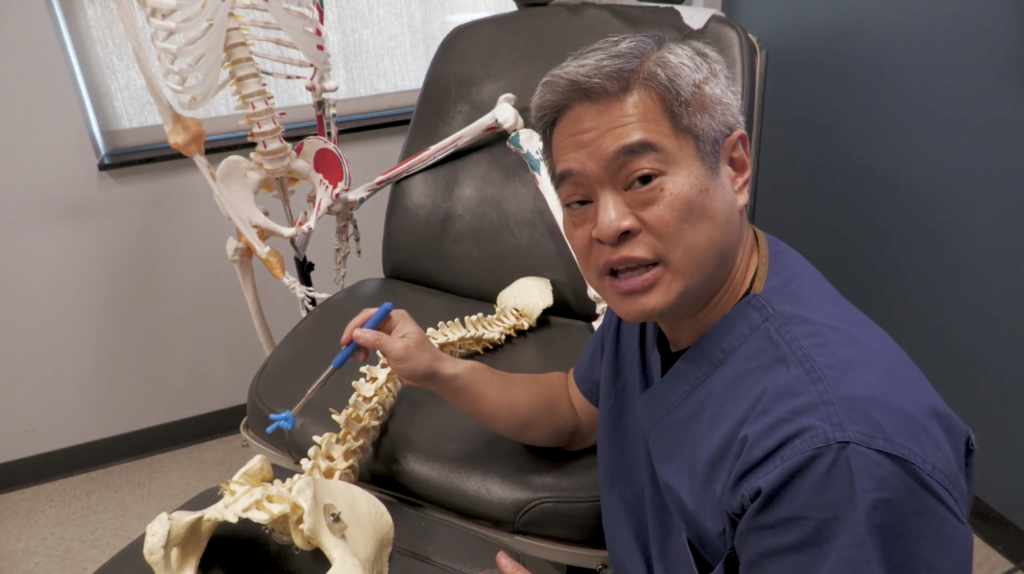
Quick Anatomy & Landmarks
The tibial nerve (sciatic branch) courses deep in the posterior compartment, then becomes more superficial in the tarsal tunnel posterior to the medial malleolus before branching into plantar nerves in the foot. Your target window: the soft-tissue corridor between the medial malleolus and Achilles.
Probe Contact: Fix the “Air Gap”
This region often traps air between the probe, malleolus, and Achilles—creating a black “dead space” with no signal.
- Solution: Don’t just press harder (it hurts and can distort tissue). Instead, flood the gap with gel to create a gentle standoff. On screen, expect a superficial hypoechoic (dark) gel layer above the skin line. Maintain light, even pressure.
Orientation & Setup
In a standard short-axis view:
- Left of screen = anterior, right = posterior.
- Identify bone contours (malleolus), the Achilles laterally, and the soft-tissue tunnel in between.
Vessels First: Artery vs Veins
You’ll typically see one or more round, anechoic structures adjacent to the nerve.
- Compression test: Veins “wink” (collapse) with gentle pressure; the artery remains patent and may pulsate. (Color/power Doppler can help if needed—use low wall filters and appropriate gain.)
Find the Tibial Nerve: Use Anisotropy
Peripheral nerves have a fascicular (“honeycomb”) look: hypoechoic fascicles within a hyperechoic epineurium. If you can’t see it:
- Tilt the probe a few degrees. Because of anisotropy, nerves brighten when insonated perpendicularly and dim at oblique angles—same footprint, different angle, drastically different visibility.
- Tilt slowly until a bright, oval/round, honeycomb structure appears adjacent to the artery/veins.
Safety Tips for Guided Injections
- Plan your path in-plane with clear visualization of needle tip at all times.
- Hydrodissect with a small test injectate to confirm spread around (not within) the nerve.
- Stay perineural, not intraneural—avoid nerve swelling or “cord-like” resistance.
- Respect the posterior tibial artery/veins; confirm identity and keep the needle trajectory away from them.
- If image quality drops, re-add gel, re-optimize depth, focus, and re-rock for anisotropy.
Common Pitfalls
- Pressing too hard: collapses veins, distorts anatomy, and obscures the nerve.
- Chasing a dark nerve: at an oblique angle, the nerve can “disappear.” Fix the angle before moving the probe.
- Mislabeling tendons: tendon fascicles can mimic nerves; confirm by dynamic movement (tendon glides), while nerves remain relatively static.
Clinical Takeaway
Mastering contact (gel standoff), vessel confirmation, and anisotropy turns a tricky medial ankle scan into a predictable, safe procedure. Get perpendicular, find the artery/veins, light up the tibial nerve, and proceed with confidence.