The Step-by-Step Knee Physical Exam: A Practical Guide
A structured knee exam helps you pinpoint the true driver of pain—whether it’s articular, ligamentous, meniscal, or neuro-myofascial. Below is a concise, repeatable sequence you can use in clinic.
1) Standing Inspection (Anterior & Posterior)
Start with the patient standing, feet shoulder-width and facing forward.
- Quadriceps & patella: Compare quad bulk and tone. Check patellar height and tilt; note “patellar squinting” (inward tilt) or asymmetry.
- Foot mechanics: Quickly assess arch integrity. A simple index-finger “arch check” at the medial sole helps screen for overpronation.
- Posterior view: Inspect calf (gastroc) bulk, Achilles alignment, popliteal fossa fullness (possible effusion/Baker’s cyst). From behind, excessive lateral toe sign (>3 toes visible) suggests overpronation that can transmit stress proximally to the knee.
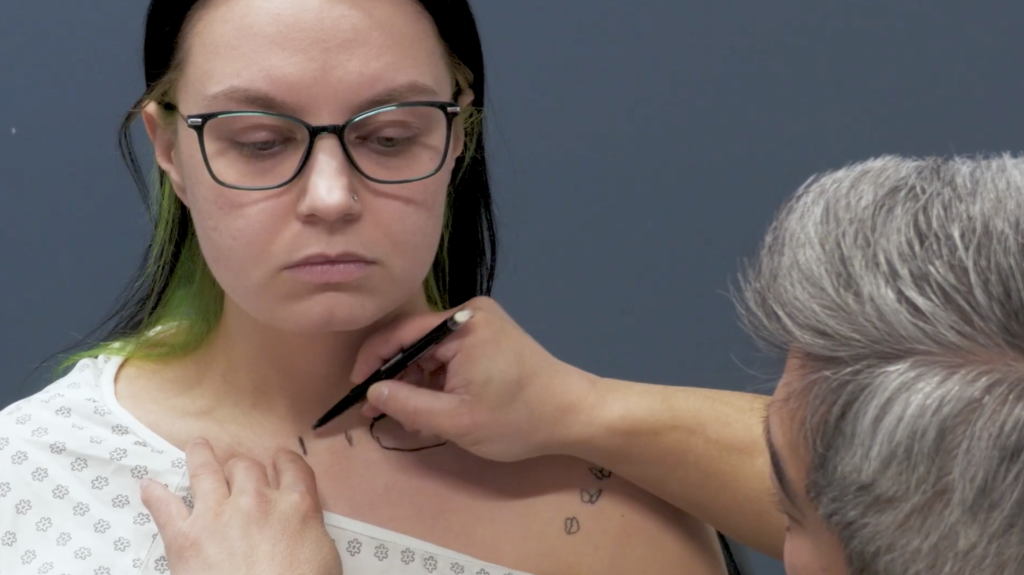
2) Supine Inspection & Effusion Assessment
With the patient supine:
- Skin & swelling: Look for erythema, warmth, and postoperative scars.
- Effusion: “Milk” fluid from the suprapatellar pouch into the joint, then ballot for a fluid wave medial ↔ lateral between patella and femoral condyles.
3) Palpation Map
Progress from least to most provocative to minimize guarding.
- Patellofemoral joint: Patellar grind (compress patella into the trochlear groove as the patient contracts quads). Palpate around patellar margins and along the patellar tendon to the tibial tuberosity. Re-palpate with the knee flexed—symptoms may localize only when the tendon is taut. Screen for infrapatellar bursitis with targeted tenderness medial/lateral to the tendon.
- Joint lines: Palpate the medial and lateral joint lines for meniscal and chondral tenderness (use the inferior pole of the patella and knee crease as guides). In known severe medial OA, consider saving this for last to avoid guarding.
- Posterior knee: Palpate the popliteal fossa for fullness (Baker’s cyst).
- Nerve & tendon entrapment points: Check anterior femoral cutaneous points over the distal quad; superior medial/lateral genicular regions at the femoral flare; pes anserine (tendons/bursa) at the medial tibial flare; IT band and Gerdy’s tubercle laterally. Track the saphenous nerve from Hunter’s (adductor) canal to the medial leg and the infrapatellar branch anterior to the tibia.
4) Range of Motion
Measure active extension (hyperextension if present) and flexion (heel to glute), then repeat passively. Compare bilaterally and document degrees.
5) Ligament Testing
- MCL/LCL: At ~15° flexion, apply valgus (MCL) and varus (LCL) stress. Note pain and end-point quality (firm vs lax).
- ACL (Lachman/anterior drawer): Lachman at ~15° flexion with proper tibial plane alignment (don’t pull straight up; follow tibial plane). Anterior drawer at ~90° with the foot anchored—limit jostling to appreciate translation.
- PCL (posterior drawer/posterior sag): Look for a sulcus sign (posterior tibial drop). Compare tibial plateau position relative to femoral condyles.
6) Meniscal Testing
- McMurray:
- Medial meniscus: Varus/valgus set-up—grasp medial joint line, apply valgus and external tibial rotation during flexion/extension; feel for clicks/clunks or reproduced pain.
- Lateral meniscus: Palpate lateral joint line, apply varus and internal rotation during flexion/extension; assess for mechanical symptoms.
Clinical Pearls
- Sequence matters: start global → local; save the most provocative palpation last.
- Foot/ankle mechanics (overpronation) often mirror knee load patterns—note and address in the plan.
- Document bilaterally for true side-to-side comparisons.