The Surprisingly Perfect Skin-Marking Pen for Prolo & PRP (Yes, It’s an Eyeliner)
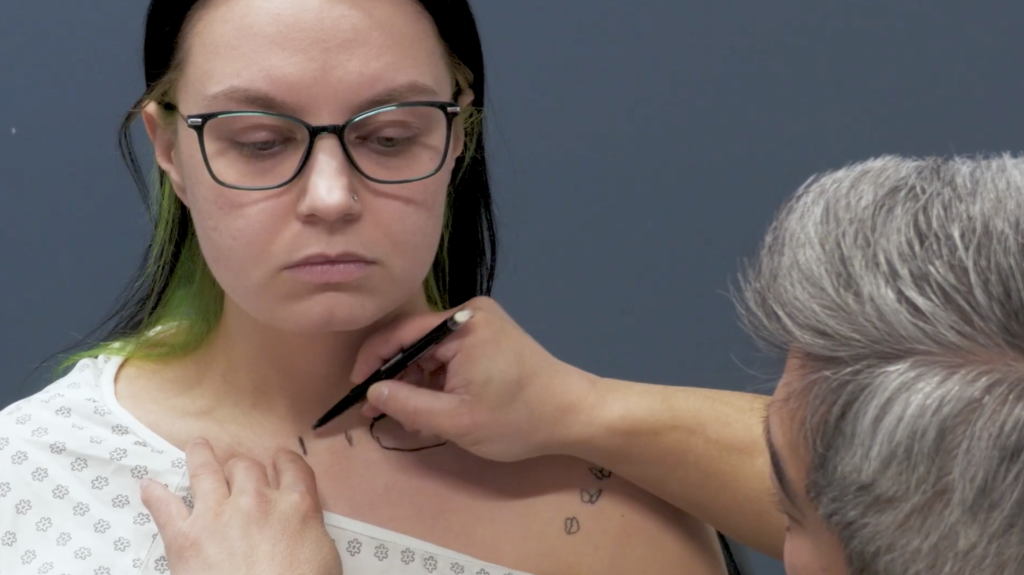
Hey—it’s Dr. Phillippi with RPI. Quick, practical tip you can use on your very next injection day: the humble skin-marking pen. When I’m planning prolotherapy or PRP, I always start with palpation. I mark bony landmarks and key reference points directly on the skin, then confirm and refine with ultrasound. That simple step does two things: it sharpens my targeting on screen and it improves the patient’s experience—because they can see the plan before we ever pick up a needle.
After trying a dozen options (I literally visited a beauty supplier and sampled every eyeliner they’d let me test), one pen rose to the top: CoverGirl Ink It! Eyeliner, Black #230. Here’s why it’s become my go-to.
1) High-contrast, stays visible
Black ink reads clearly against most skin tones and pops on camera if you’re teaching. Clarity matters when you’re triangulating your palpation line with your probe orientation and needle path. With this pen, the mark is unmistakable.
2) Survives skin prep
I don’t inject through the inked spot—ever—but I do prep the field with chlorhexidine and alcohol. Many markers disappear the moment you prep; this one doesn’t. The line holds through aseptic prep so your reference stays intact while you work around it.
3) Durable, clinic-friendly design
It’s a gel-style mechanical eyeliner. That means no sharpening, less mess, and fewer broken tips. Keep the extension short and it’s surprisingly tough. There’s plenty of product in the barrel, so a pen lasts far longer than you’d think (even in a busy clinic).
4) Patient expectations are easy to manage
Because it’s designed to stay, I give patients a quick heads-up: some marks may linger for several days. A standard makeup remover will take it off faster. If you’re seeing them the next week, don’t be surprised if a faint line is still present—it’s a feature, not a bug.
5) It complements palpation-first technique
For me, palpation is the foundation: PSIS to iliac crest, fibular head to Gerdy’s tubercle, patellar and tibial landmarks—mapped before the probe comes out. The mark anchors my mental model, the ultrasound refines the target, and the needle path gets executed with confidence. That sequence keeps the work precise and repeatable.
Practical pointers
- Mark your bony landmarks first; keep your injection target adjacent to, not through, the ink.
- Prep as usual—your marks should remain readable.
- Reconfirm depth and trajectory with ultrasound before you start.
- Document your landmarks in the note; patients appreciate the extra clarity.
A quick note on skin sensitivity
This is a beauty-industry product, used here in a medical workflow. Test on a small area first if your patient has sensitive skin or known reactions to cosmetics. As always, follow your clinic’s protocols and scope of practice.
Bottom line: if you want crisp, reliable skin marks that survive prep and make both ultrasound and patient communication easier, CoverGirl Ink It! Black #230 is a small upgrade that pays off big. I’ve tried them all—this is the one I keep going back to. Give it a shot on your next clinic day and see if it tightens up your process as much as it did mine.