
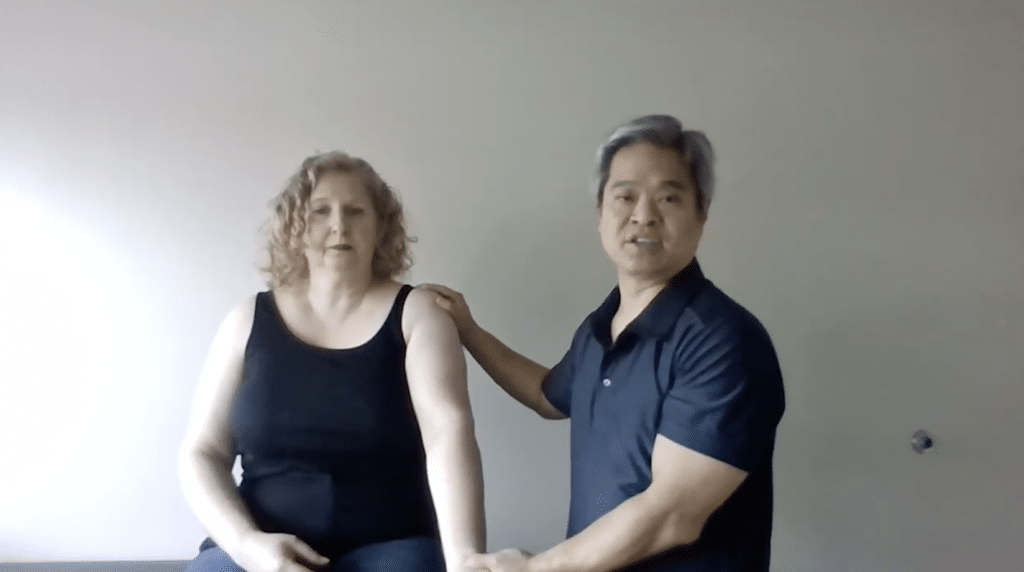
The 30-Second Shoulder Exam: A Smarter Sequence for Neer, Hawkins, O’Brien’s, Speed’s & Empty Can
The 30-Second Shoulder Exam: A Smarter Sequence for Neer, Hawkins, O’Brien’s, Speed’s & Empty Can
Shoulder exams have a way of becoming complicated quickly.
There are dozens of orthopedic tests clinicians can perform, each with its own name, positioning, target structure, and interpretation. And while knowing those individual tests matters, running through them one by one isn’t always the most practical approach in a busy clinical setting.
What if, instead of thinking about shoulder testing as a checklist, you thought about it as a sequence?
That is the idea behind an efficient shoulder examination approach shared during a recent RPI training: combine several traditional physical exam maneuvers into one continuous flow. Once the movements become familiar, multiple shoulder structures can be assessed in roughly 30 seconds.
The goal isn’t to rush the exam.
It’s to make every movement count.
Start With the Foundation
Before getting into shoulder-specific special testing, the basics still matter.
Range of motion, strength, neurologic assessment, and the other foundational components of the physical exam should already be completed. The rapid sequence comes afterward, giving the clinician a way to organize the more specific orthopedic maneuvers efficiently.
From there, the exam can be thought of in two broad phases: first, the clinician moves the shoulder through several passive tests. Then, without completely resetting the patient’s position, the exam transitions into active resisted testing.
That simple organization is what allows the entire process to flow.
Let One Test Lead Into the Next
The passive portion begins with familiar impingement testing.
One of the easiest ways to remember the Neer maneuver is the old mnemonic: “Neer to the ear.”
But rather than testing the shoulder in only one direction, evaluating both abduction and forward flexion can provide additional information about where symptoms are reproduced.
From there, the patient’s arm can transition directly into Hawkins testing. Instead of returning to neutral after every maneuver, each position becomes the setup for the next test.
That’s the theme throughout the exam.
Neer becomes Hawkins. Hawkins moves into cross-body positioning. From there, the clinician can evaluate the AC joint with compression and cross-body adduction before continuing into a scarf-type maneuver.
Very little movement is wasted.
More importantly, the exam starts to feel like one continuous evaluation rather than a series of disconnected orthopedic tricks.
“Does That Hurt?” Isn’t Enough
One of the most useful lessons from the sequence has less to do with how you position the shoulder and more to do with what you ask the patient.
When a maneuver reproduces pain, don’t stop at:
“Does that hurt?”
Follow it with:
“Where?”
That distinction can dramatically change how a test is interpreted.
For example, cross-body adduction may reproduce pain directly over the AC joint—which fits the structure being stressed. But if the patient points to the posterior shoulder, scapular region, or somewhere else entirely, the same “positive” maneuver may be telling you something different.
Shoulder special tests rarely isolate only one tissue.
A maneuver may simultaneously create compression, rotation, tension, or muscular activation across several structures. That’s why simply recording a test as positive or negative can miss part of the clinical picture.
Where the patient experiences the pain matters.
So does whether it feels like the pain that brought them into your office in the first place.
Passive Testing Flows Into Active Testing
Once the passive sequence is complete, the patient’s arm is already in a useful position to begin resisted testing.
The bear hug test can be used to assess the subscapularis, but the patient’s mechanics matter. Without clear instructions, patients often compensate by dropping the elbow or rotating the entire arm.
If the findings are unclear, additional subscapularis maneuvers such as the lift-off or belly-press test can be added rather than automatically performed on every patient.
That’s another advantage of having a consistent screening sequence: you can start broad and then investigate further when something catches your attention.
From the bear hug position, only relatively small adjustments are required to transition through other familiar tests.
O’Brien’s testing can provide information when superior labral pathology is suspected. Rotating the palm upward transitions into Speed’s testing for the long head of the biceps. Rotating back down and repositioning the arm moves naturally into the empty can test and supraspinatus assessment.
Again, the efficiency isn’t coming from performing fewer examinations.
It’s coming from better transitions between them.
Don’t Let One “Negative” Test End Your Investigation
One particularly valuable clinical point from the training was the importance of comparing shoulder positions rather than relying too heavily on one classic maneuver.
Take supraspinatus testing.
The empty can test is familiar to virtually anyone who evaluates shoulders. But there are patients who demonstrate relatively little discomfort in that traditional position and then experience much more obvious symptom reproduction with resisted straight abduction.
That doesn’t mean the empty can test should be abandoned.
It means no single maneuver should be allowed to outweigh the rest of the clinical picture.
If the patient’s history strongly points toward a structure but the first special test is underwhelming, change the angle. Compare positions. Repeat the resisted movement in another plane.
The goal isn’t to make a test positive.
The goal is to understand what reliably reproduces the patient’s symptoms.
A Shoulder Exam Is a Pattern, Not a Checklist
It’s tempting to think of orthopedic testing as a collection of individual answers:
· Neer: positive.
· Hawkins: negative.
· O’Brien’s: positive.
· Speed’s: negative.
But those results become much more useful when viewed as a pattern.
· Where was the pain?
· Which movements reproduced it?
· Was there true weakness, or was the patient simply limited by pain?
· Did changing the position change the symptoms?
· Did several tests point toward the same structure?
· Most importantly, do the physical exam findings make sense when compared with the patient’s history?
Special tests are pieces of evidence. They aren’t the entire diagnosis.
Efficiency Doesn’t Mean Cutting Corners
A 30-second shoulder sequence sounds fast—and it is.
But the point isn’t speed for the sake of speed.
The point is having enough familiarity with shoulder anatomy and special testing that you can move through the exam deliberately without constantly stopping, resetting the patient, and trying to remember which test comes next.
Once the sequence becomes second nature, the clinician can spend less attention thinking about what test to do next and more attention observing how the patient responds. This may be the most important takeaway of all.
A good shoulder exam isn’t about how many orthopedic tests you know.
It’s about knowing how to use them together.
Watch the movement. Ask where it hurts. Compare the findings. Then put the pieces together.