Ultrasound Depth Settings for Safer, Cleaner Injections
Depth is one of the first—and most important—settings to optimize when performing ultrasound-guided injections. Set it too shallow and you’ll lose critical lateral information; too deep and you sacrifice resolution. Here’s a simple, repeatable approach using the medial ankle (posterior tibial nerve at the medial malleolus) to get your depth right before you ever pick up a needle.
Why Depth Matters
On many machines, changing depth doesn’t just alter how far you see—it also changes how much of the probe footprint is represented on screen. With overly shallow depth, the image can stop reflecting the full lateral edges of the transducer. That creates a dangerous mismatch: you think the screen shows “everything under the probe,” but the true footprint extends beyond what’s visible. Result: a needle can travel off-screen (e.g., toward the Achilles) even though it’s still beneath the probe.
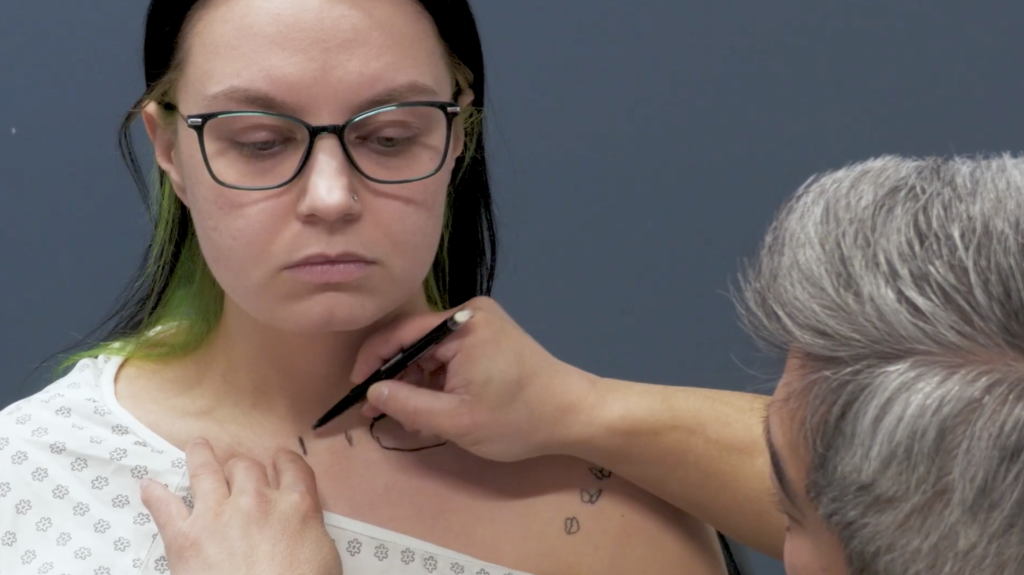
The Setup: Medial Malleolus Window
Short-axis view between the medial malleolus (bone/cortical shadow) and Achilles tendon:
-
- Identify posterior tibial artery and paired veins (veins collapse with gentle compression; artery stays patent/pulsatile).
-
- Find the posterior tibial nerve (oval/round, honeycomb fascicles with hyperechoic epineurium).
-
- If there’s an air gap between malleolus and Achilles, flood the space with gel (standoff) rather than pressing harder.
The Depth Drill (Before You Inject)
-
- Start shallow, then watch the left/right edges of the image as you step the depth deeper one click at a time.
-
- Confirm full footprint capture: As you increase depth, there’s a point where the image gets wider (more of the probe footprint is now represented). Keep stepping deeper until additional depth no longer widens the image—then back off one click so you maintain resolution while still visualizing the entire footprint.
-
- Landmarks visible: At your working depth, you should see the medial malleolus cortex, Achilles margin, artery/veins, and the tibial nerve—all within the on-screen field.
-
- Angle of approach: If your injection is in-plane from posterior → anterior, confirm that the entry corner of the probe corresponds to on-screen edge. With full-footprint visualization, your needle should appear as soon as it passes the skin and remain visible to the tip.
Safety Pearls
-
- Never chase a missing needle by advancing blindly. If the tip disappears, stop, re-optimize depth/angle, and re-approach.
-
- Use anisotropy to brighten the nerve (tilt the transducer a few degrees in either direction).
-
- Hydrodissect with a small test bolus to confirm perineural spread; avoid intraneural resistance or swelling.
-
- Machine-specific sweet spot: On some systems, that “full-footprint” depth might be ~2.5–3.0 cm for this ankle window. Test on your unit (and each probe) so you know the threshold before procedures.
Common Pitfalls
-
- Too shallow: Great nerve detail but truncated lateral field—needle can go off-screen under the same probe.
-
- Too deep: Entire footprint visible, but resolution suffers and small targets are harder to see.
-
- Over-compression: Distorts tissue, collapses veins, and hides the plane you intend to inject.
Bottom Line
Pick a depth that captures the full probe footprint while preserving enough resolution to track the needle tip. Do this first, every time, and your injections will be safer, cleaner, and more predictable.