Ultrasound-Guided Needling: A Stepwise Technique You Can Trust
Ultrasound guidance can take injections from “good enough” to precise, safe, and reproducible—especially near small targets like nerves. This quick guide distills a stepwise approach you can apply immediately in clinic.
1) Set up before you scan
- Ergonomics first: Adjust table/chair height so a shallow in-plane angle feels natural. If the table is too low, you’ll default to a steep, hard-to-control trajectory.
- De-gel for control: Diagnostic scans love extra gel; injections do not. Wipe probe, hands, and syringe so you can make micro-movements without slipping.
- Right tools: Prefer the shortest needle that reaches the target. Use smaller gauges (e.g., 25G) for patient comfort as your skill grows. Match syringe size to control—smaller barrels are easier to finesse; learn alternate grips for stability and continuous injection.
2) Master the probe hold (micro-moves matter)
Use a three-finger wrap high on the probe with the 4th/5th fingers resting on the patient. This balances stability with mobility, enabling all five motion families (slide long/short axis, rotate, tilt, heel-toe) in tiny increments. Flex the wrist—this “intentional discomfort” increases leverage and fine control.
3) Line up like a pool cue
Before inserting the needle, align patient → target → probe → injecting hand → eyes → screen. Keep the second monitor low enough that you glance with your eyes, not your neck. Minimize skin-to-target distance: position the probe so your path is short and your needle can stay shallow.
4) Geometry beats guesswork
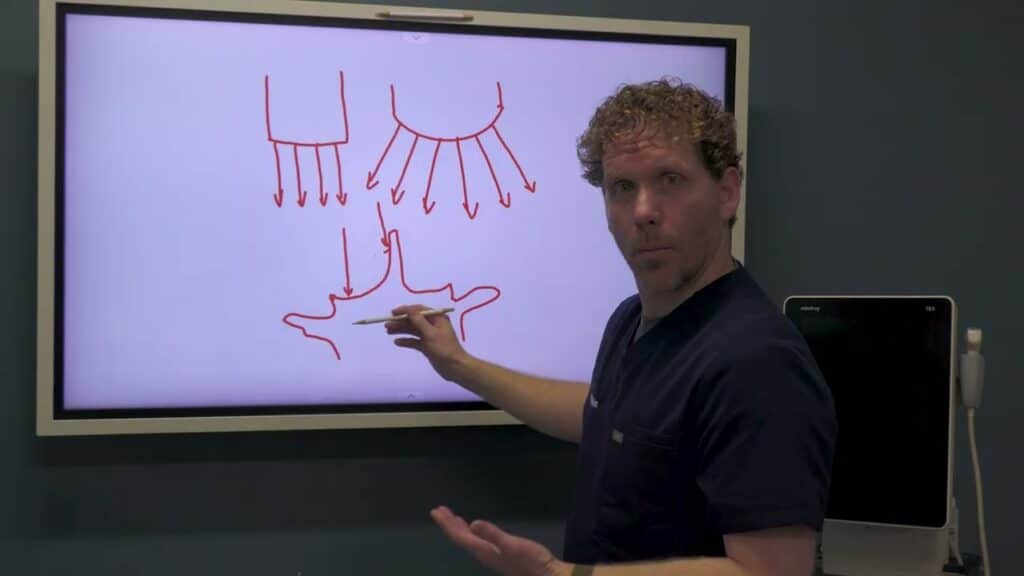
- Depth decides angle. Estimate target depth and pick an initial angle (e.g., ~30–45°) relative to the probe, not the room. If you tilt the probe (to fight anisotropy), adjust needle angle to match.
- Stand off the footprint. Avoid inserting right against the probe—maintain room to pivot and protect the transducer.
5) Keep the needle in view (and prove it’s the tip)
Three visualization boosters:
- Heel-toe toward the needle to make the beam more perpendicular—needle brightens dramatically.
- Oscillate the needle (tiny in-out “sewing” motion) while keeping net depth unchanged.
- Lateral sweep the probe ~5 mm each way—like radar—to pass over the true tip.
Safety check: the on-screen motion of the tip must match your hand movement; if not, you’re probably seeing shaft, not tip.
6) Correct deliberately—don’t “fish”
If you’re off target, retract almost to skin, adjust angle, then re-advance. Don’t bend the needle by steering while deep. Frequently look at your hands to ensure the probe is centered over the needle path (dominant-hand drift is common). Break contact points if needed—another moment of intentional discomfort that prevents hidden angle changes.
7) Progress thoughtfully
Skill progression runs: safe → effective → minimal pain → efficient → effortless. Smaller needles, fewer redirects, and consistent visualization take thousands of iterations—but they spare patients bruising and you frustration.